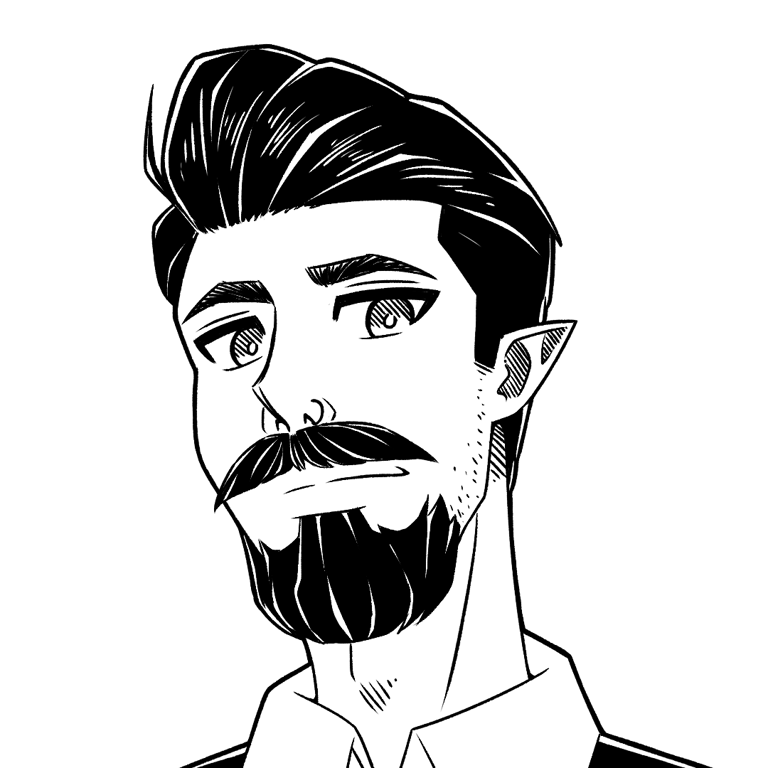
How to Draw a Female Character in Profile (With a Ponytail)
Welcome to Hex Fantasy Comics' visual art guide! In this step-by-step tutorial, you’ll learn how to build a clean side-profile portrait from basic construction shapes all the way to final line art, coloring, and shading.
HOW TO DRAW HEADS AND FACES
André Luis Mendes
11/18/2026
How to Draw a Female Character in Profile (With a Ponytail)
Welcome to Hex Fantasy Comics' visual art guide! In this step-by-step tutorial, you’ll learn how to build a clean side-profile portrait from basic construction shapes all the way to final line art, coloring, and shading.


Step 1: Head & Neck Construction (Loomis Method)
Draw the cranium sphere. Start with a simple circle using a light blue sketch brush to establish the main mass of the skull.
Add facial guidelines. Sketch horizontal lines across the sphere to mark the brow line and the bottom of the nose, plus a vertical line down the side plane of the head to locate the ear.
Block in the jaw and neck. Extend a tapering wedge downward from the front of the circle for the jaw and chin, then attach a slightly curved cylinder at the base of the skull for the neck.
Step 2: Facial Silhouette & Feature Placement
Refine the profile contour. On a new layer, trace over your construction lines to carve out the gentle curve of the forehead, the bridge and tip of the nose, the upper and lower lips, and a soft chin.
Place the eye and ear guides. Draw a small sideways triangle just behind the bridge of the nose to mark the eye's position, and sketch a C-shaped curve along the vertical jawline guide for the ear.
Clean up the neck line. Smooth out the back of the skull into the nape of the neck and define the clean angle under the chin.


Step 3: Facial Details & Hairline Mapping
Draw the eye and brow. Inside your triangle guide, shape the upper and lower eyelids, add crisp eyelashes, draw the curved iris/pupil, and place a bold eyebrow slightly above the brow ridge.
Detail the ear and mouth. Add the inner cartilage folds of the ear and draw a subtle, relaxed line for the mouth corner.
Map the hairline. Sketch the hairline across the forehead, temple, sideburn, and nape of the neck—drawing the "buzz-cut" boundary first keeps hair volume accurate in the next step.


Step 4: Hair Volume & Ponytail Sketch
Build volume above the skull. Draw the hair lifting upward and sweeping back over the crown so it sits naturally above the head silhouette rather than flat against it.
Frame the face. Add a loose, S-curved strand falling naturally in front of the ear and cheek to soften the profile.
Tie and flow the ponytail. Gather the swept-back strands into a hair tie at the nape of the neck, then let the ponytail cascade downward with long, tapering S-curves.


Step 5: Final Inking, Base Colors & Shading
Ink with varied line weight. Trace your final sketch using a crisp dark-brown or black ink brush, using thicker lines along outer silhouettes and thinner lines for inner hair strands and facial details.
Lay down flat base colors. Fill in your base tones on separate layers beneath the line art—warm peach for the skin, golden blonde for the hair, dark brown for the hair tie, and bright teal-blue for the iris.
Add cel-shading and soft blush. Apply darker shadow tones beneath the chin, under overlapping hair locks, and inside the ear, then blend a soft rosy blush onto the cheek and nose tip.
Finish with highlights. Add light cream highlights along the top crown of the hair, the ponytail curve, and a crisp white catchlight in the eye.


HEX FANTASY COMICS
We update every week, unless the artist is too exhausted.
Talk To Me:
hexfantasy96@gmail.com
Send fan art, comics suggestions, or money.
© 2026 Hex Fantasy Comics
Home-Comics-AboutUs-Support